Home
About us
Growth Timeline
Cementing Solutions
Primary Cement Solutions
Secondary Cement Solutions
Nitro Bond™
Facilities
Equipment
Careers
Contact
RPC
Press enter to begin your search
Home
About us
Growth Timeline
Cementing Solutions
Primary Cement Solutions
Secondary Cement Solutions
Nitro Bond™
Facilities
Equipment
Careers
Contact
RPC
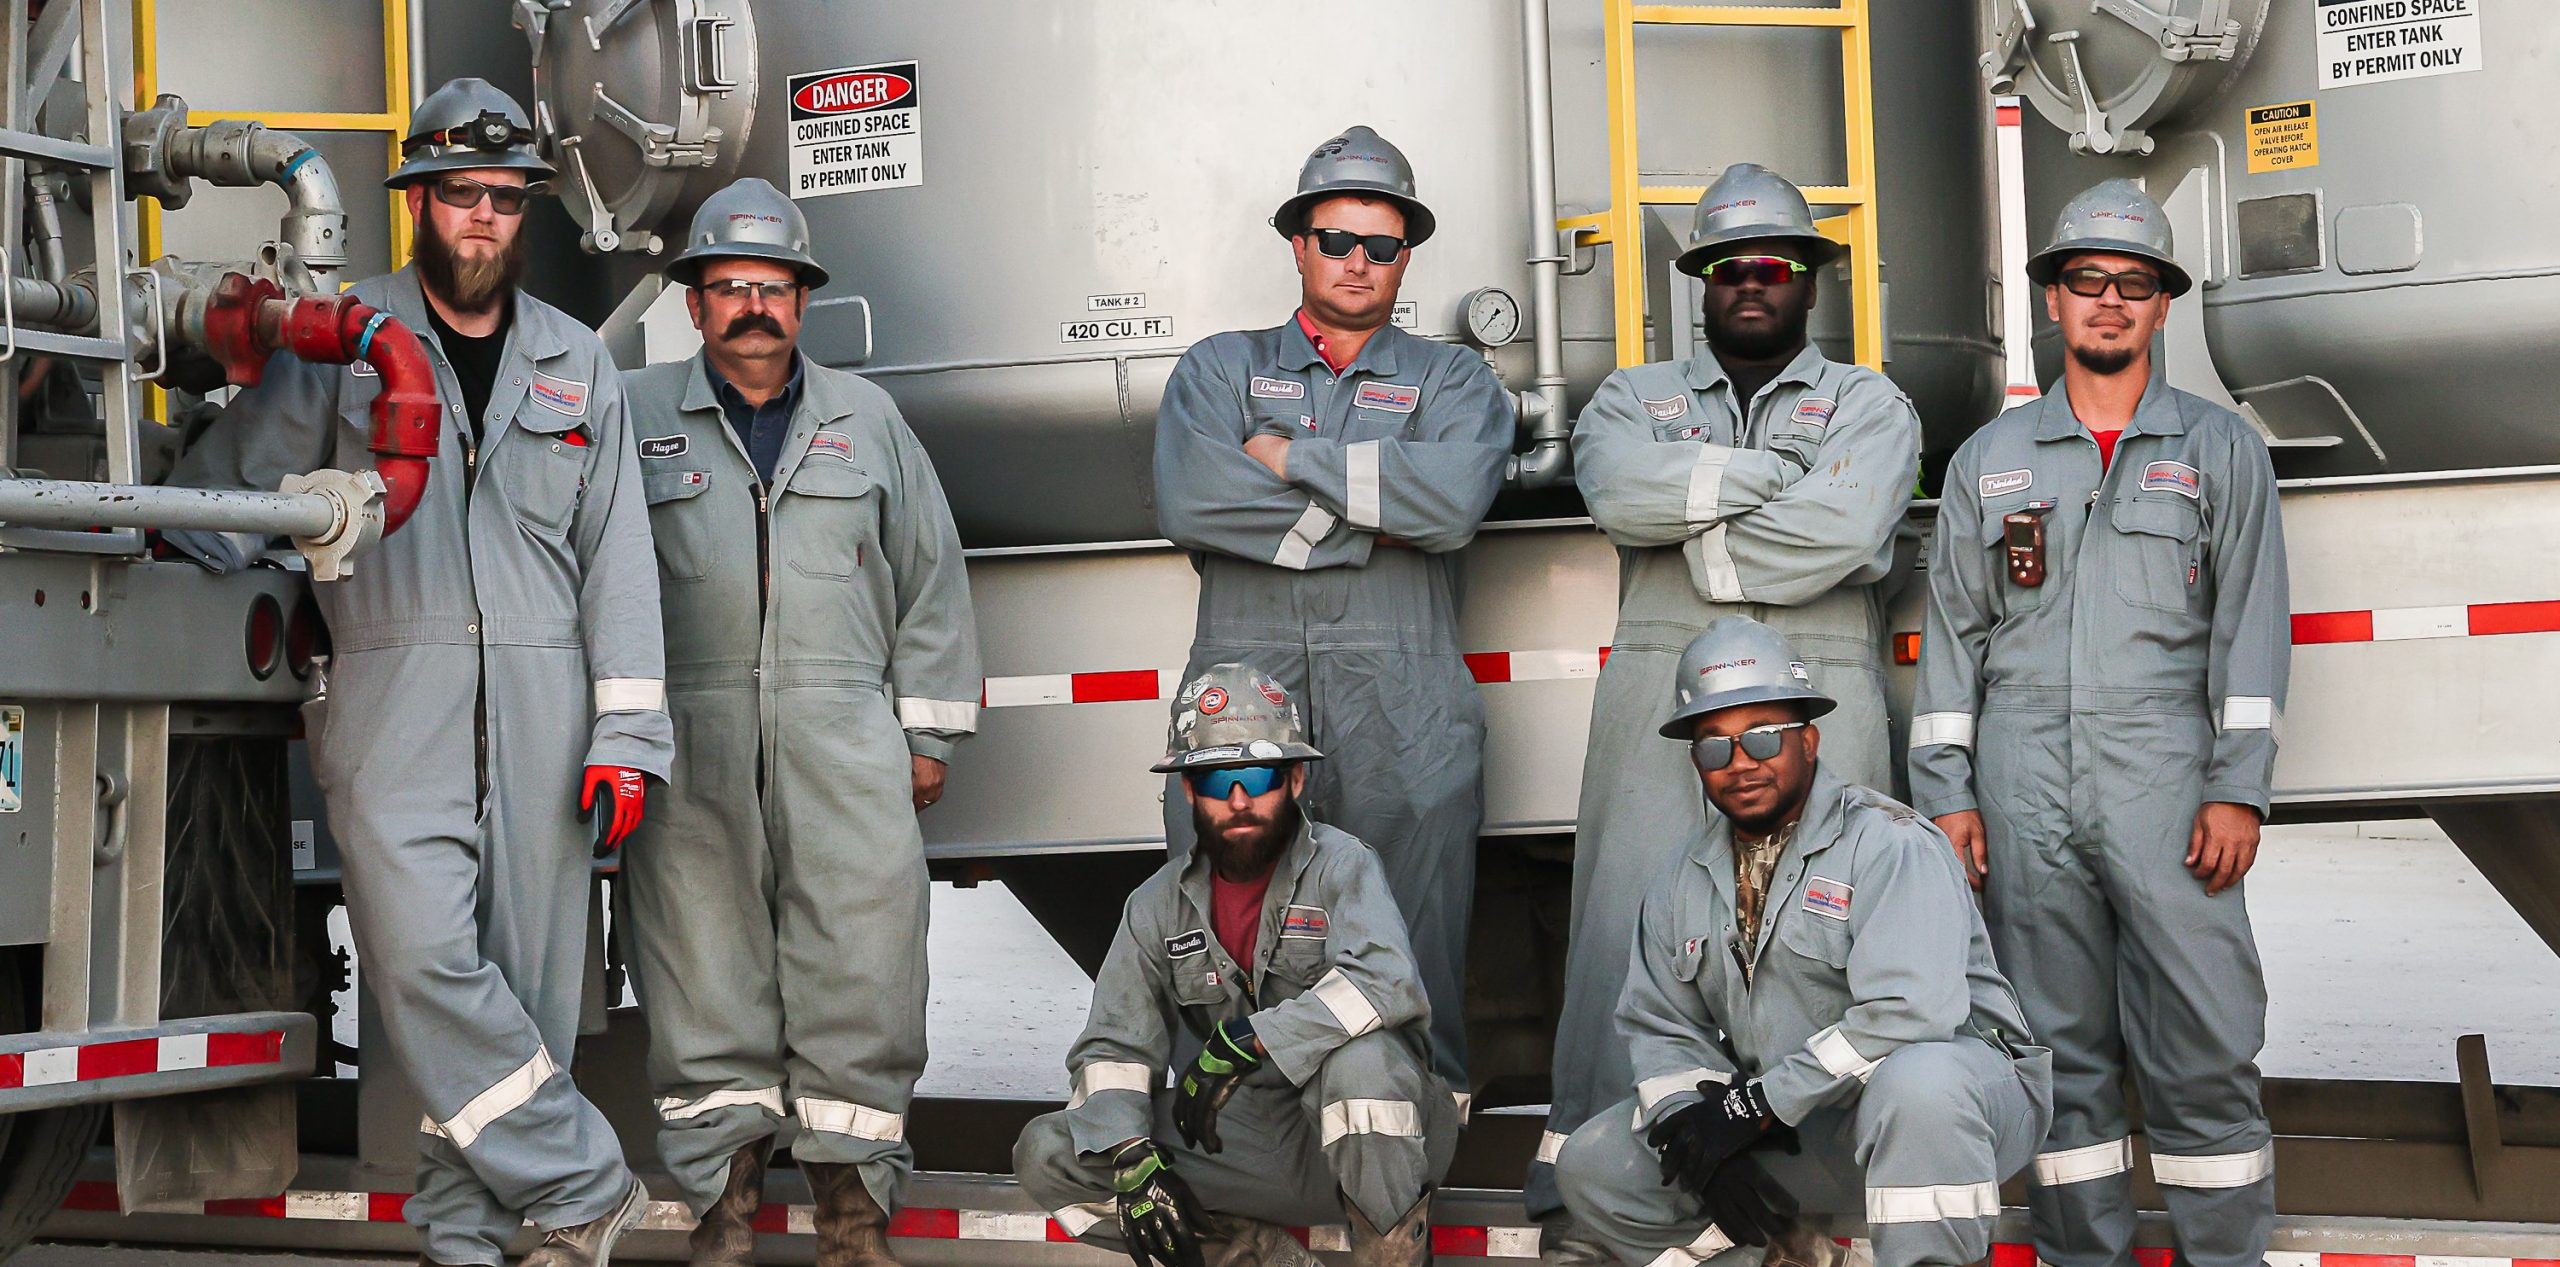
Test Image 2
siteadmin
February 27, 2022
Description for the second test image.
Recent Posts
Hobbs Crew
Test Image 2
Test Image
Recent Comments
Archives
March 2022
February 2022
Categories
Site Photos
Meta
Log in
Entries feed
Comments feed
WordPress.org
0
Shares
Share
0
Site Photos
No Comments
Recent Comments